
Creating a Workspace
Let’s Build!
Section titled “Let’s Build!”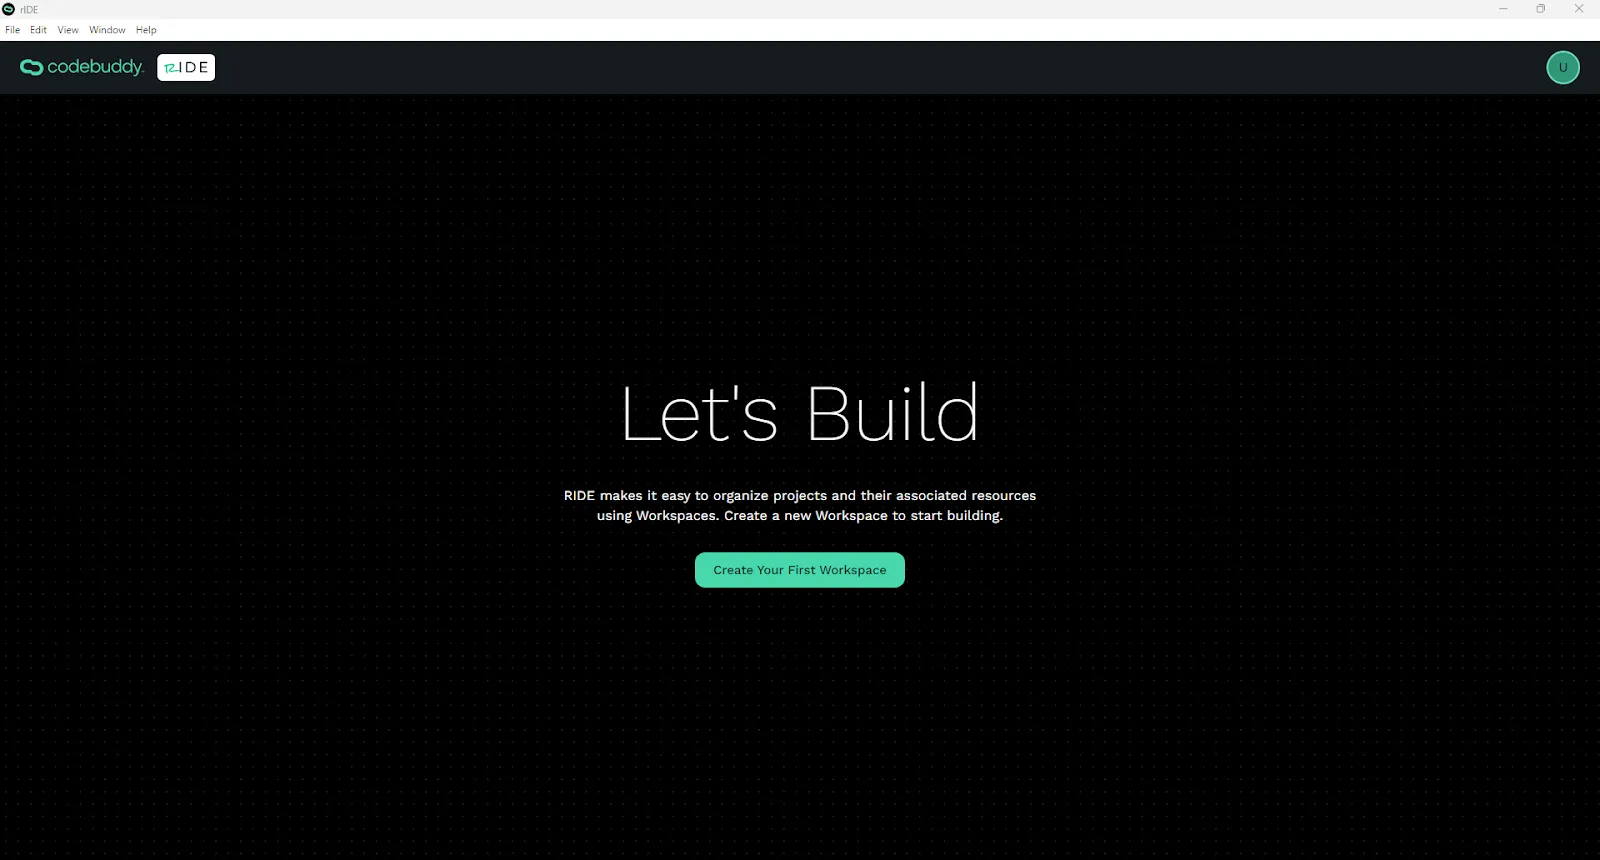
Click on the Create Your First Workspace button to start building.
Create a Workspace
Section titled “Create a Workspace”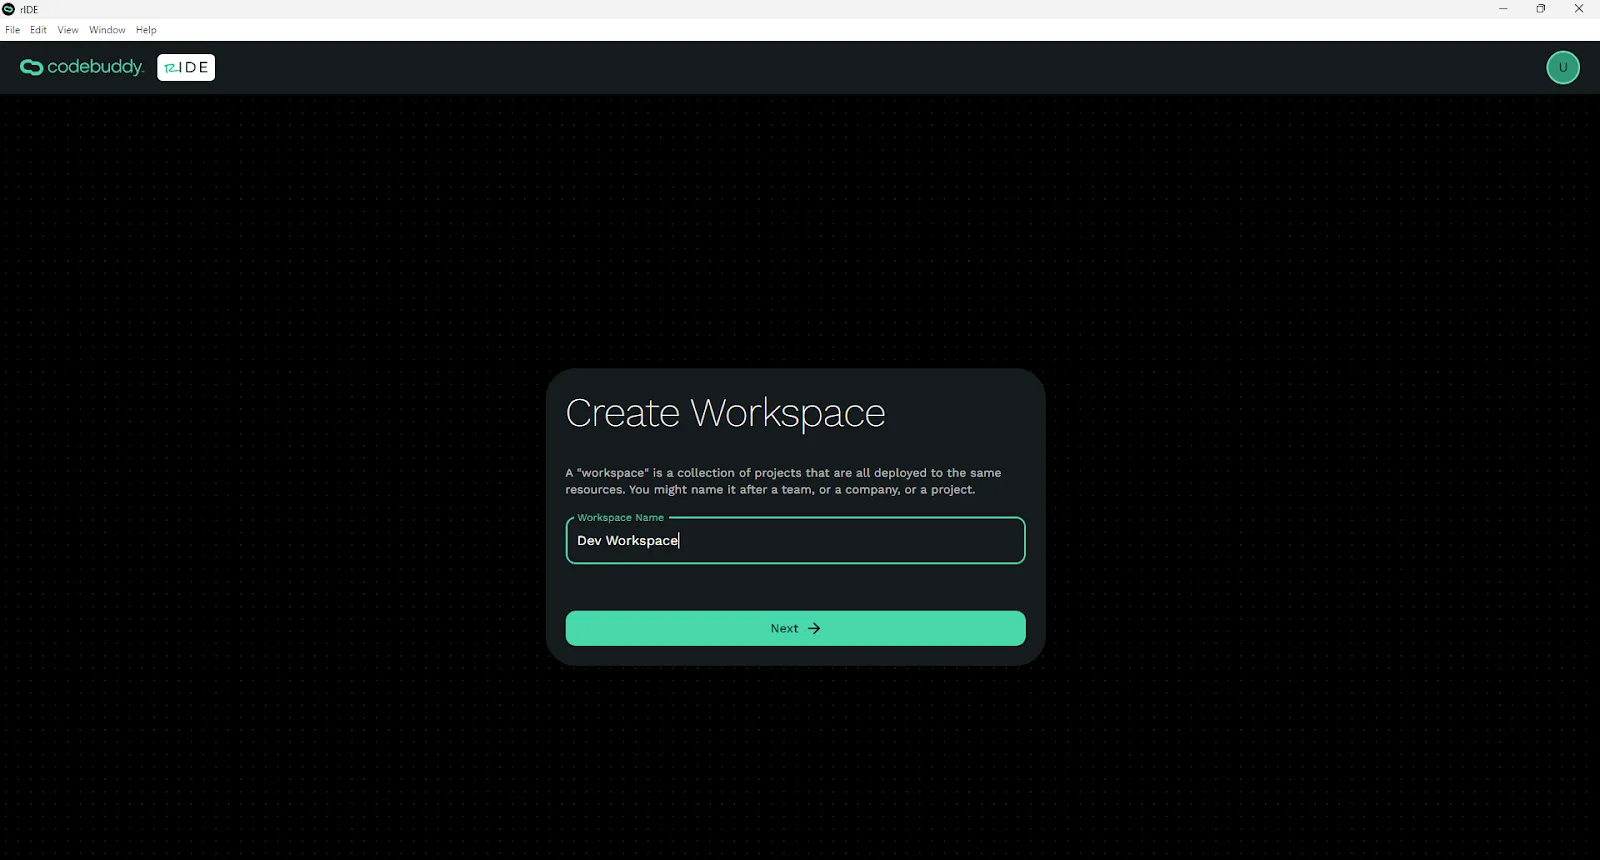
Workspaces are where you and your team can organize projects and cloud tools all in one place. You’ll only have to set up the information for a Workspace once.
CodeBuddy helps you set up enterprise-quality cloud resources in your workspace so that you maintain control of your software. These resources include: Github ($4/m/user), Supabase ($25/m/org + $20/m/project), and Azure ($62/m/project).
Source Control
Section titled “Source Control”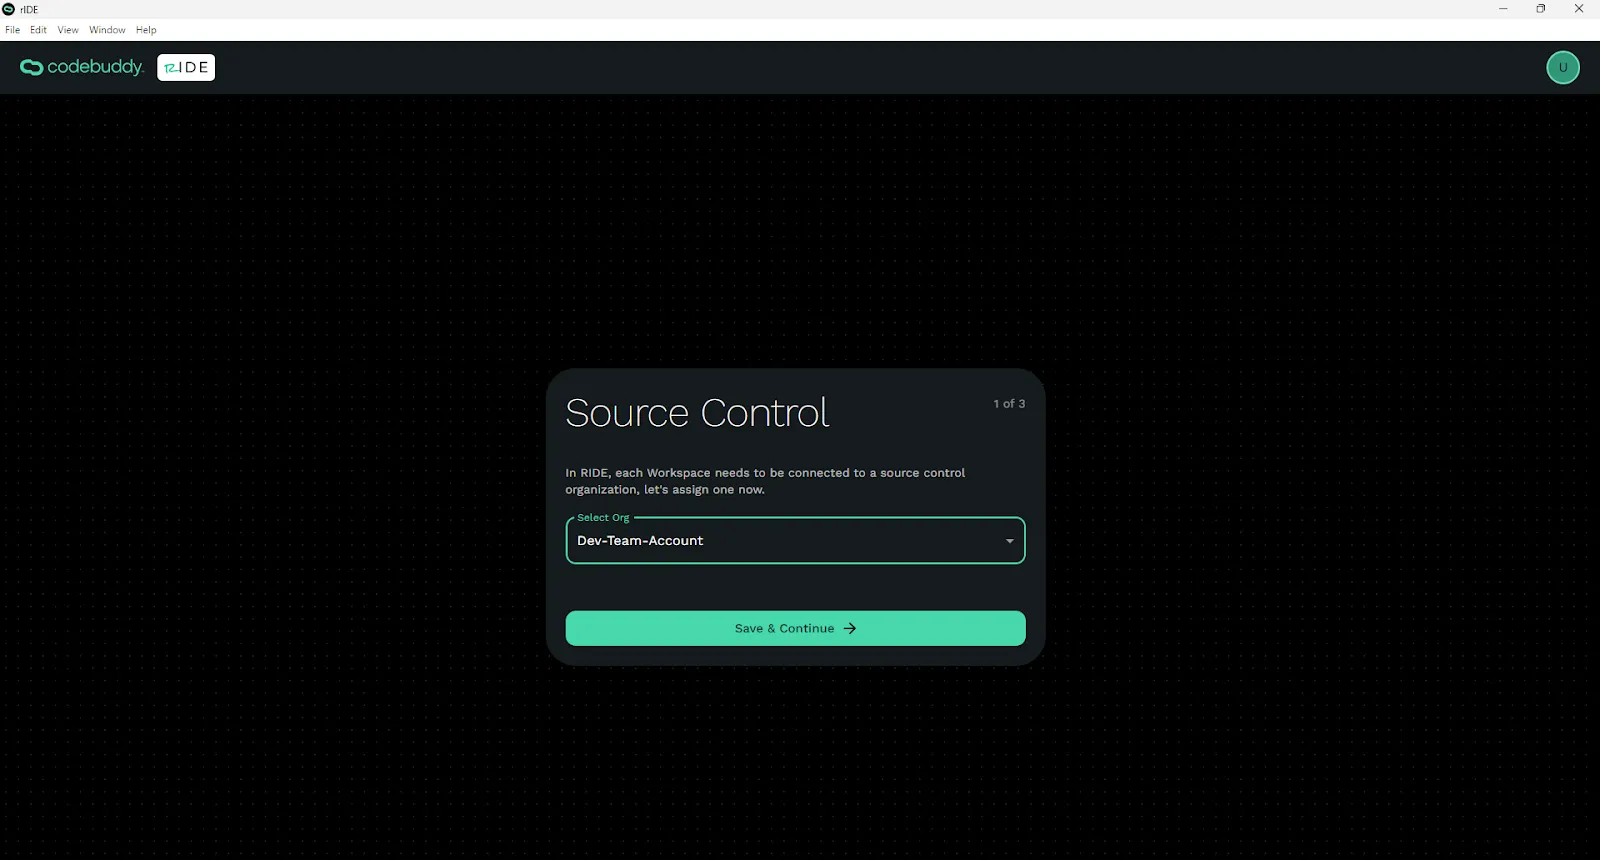
You’ll need to attach a Github Organization on a Team subscription to your Worskpsace so that RIDE knows where to store your code, manage changes, deploy code, etc. You already connected your Github when creating your user account but hear you’ll want to pick the organization associated with that Github account.
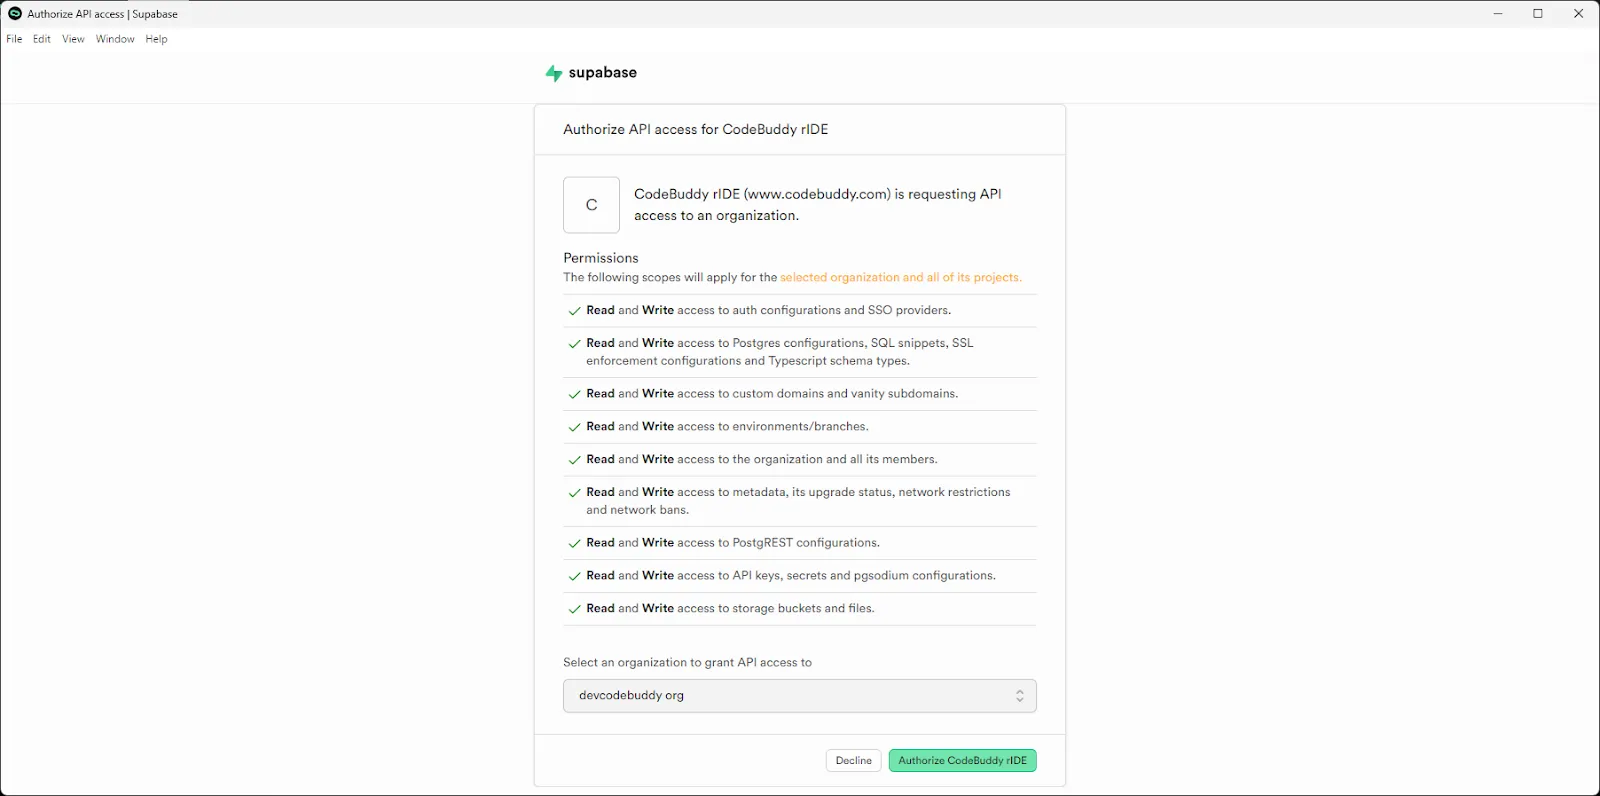
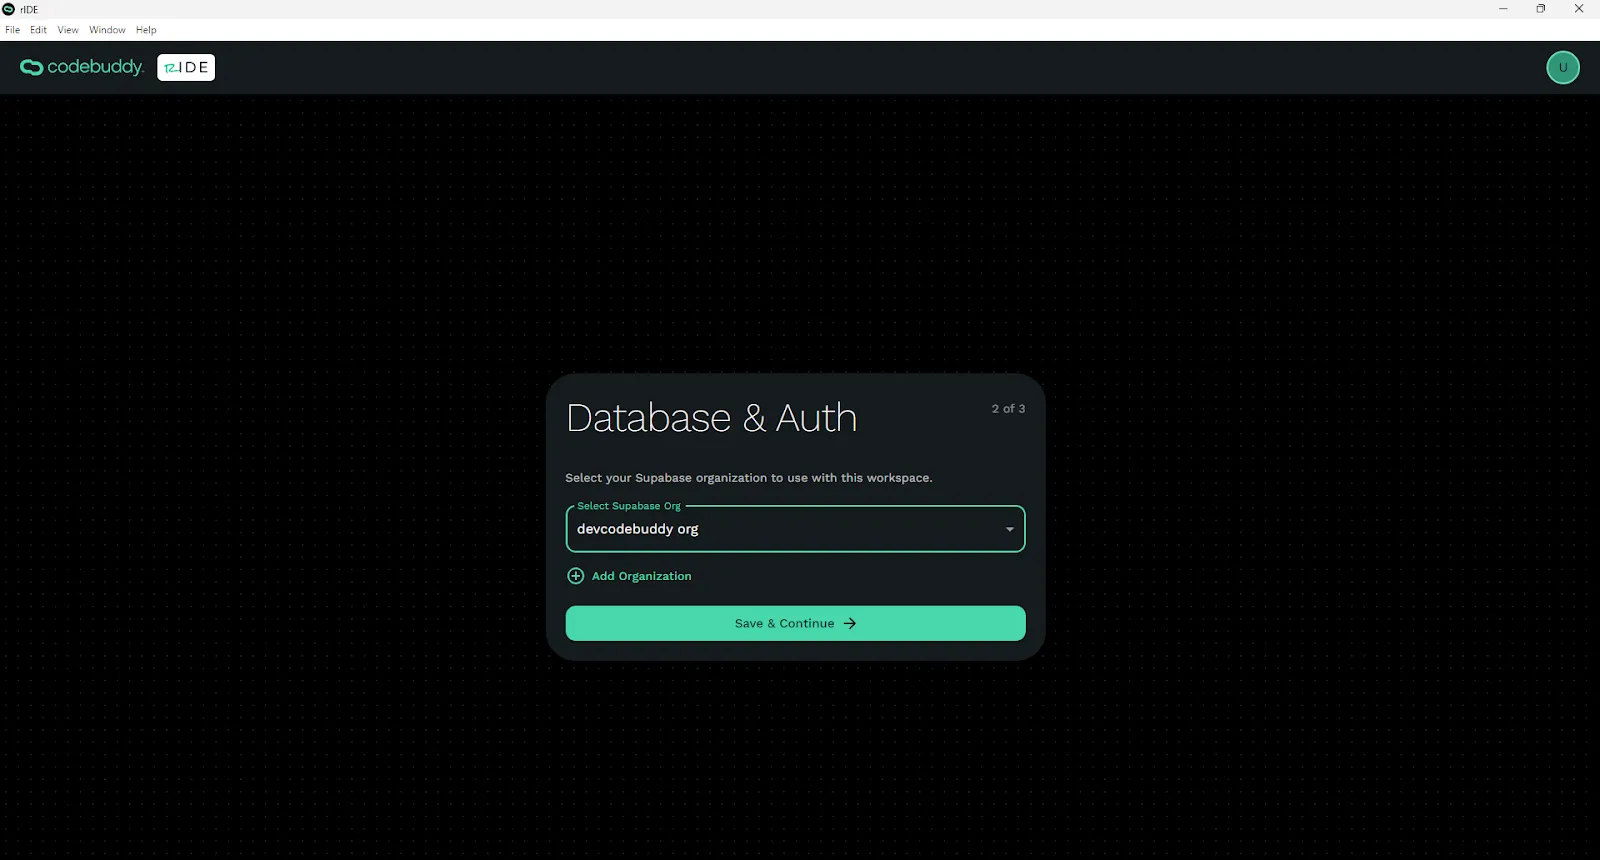
Connect to Supabase (Database & Auth)
Section titled “Connect to Supabase (Database & Auth)”CodeBuddy uses Supabase to store your document and blob data and also to provide user management, authentication, and authorization to the apps you create. You’ll need to connect an active Supabase Pro Account and Organization to your Workspace so you can securely store app data and manage security features. A Supabase Pro Account is $25/month per account and $20/month per project.
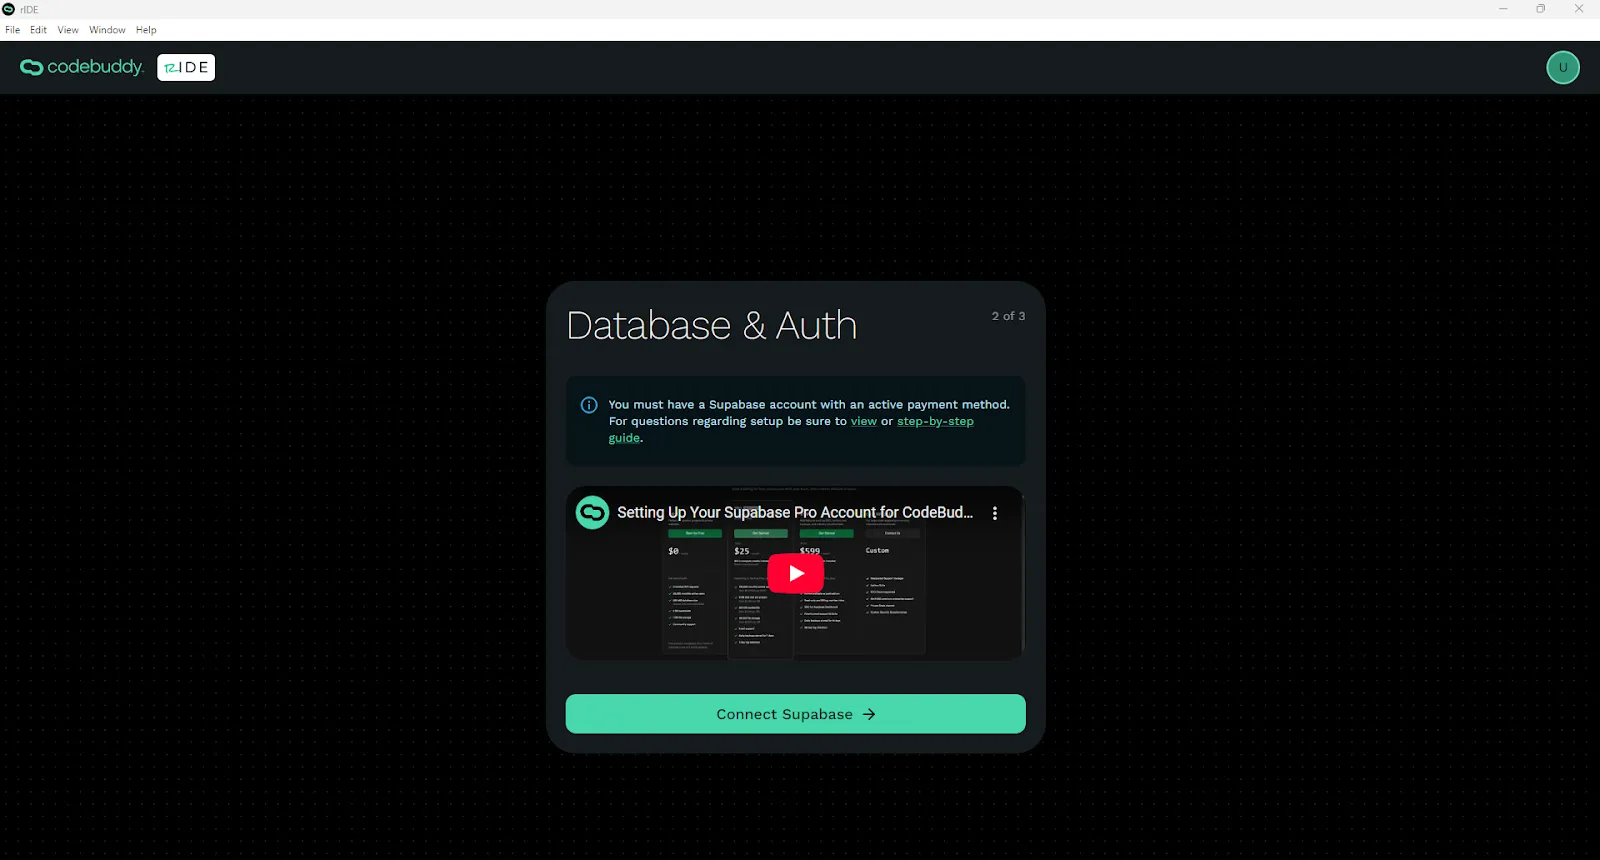
The fastest way to connect to Supabase is to use your GitHub to login.
| Known Issue | Troubleshooting | Status |
|---|---|---|
| Logged in with wrong supabase account. | Go to inspection tool. Go to Application -> Local storage (clear Supabase), Session storage (clear Supabase). | N/A |
Interal QA Checklist:
- Sign up for a Supabase Pro Account (Use the video and link on the app.)
- Connect Supabase
- Grant Permissions
- Select your Supabase Organization
| Known Issue | Troubleshooting | Status |
|---|---|---|
| Add Organization button doesn’t work. | Navigate to your supabase account in a browser and add an organization there. | Not Reported |
Select Your Azure Subscription
Section titled “Select Your Azure Subscription”You’ve already connected to your Azure account when setting up your CodeBuddy account. Here you will just need to select the subscription on your Azure account that you want to use for this Workspace.
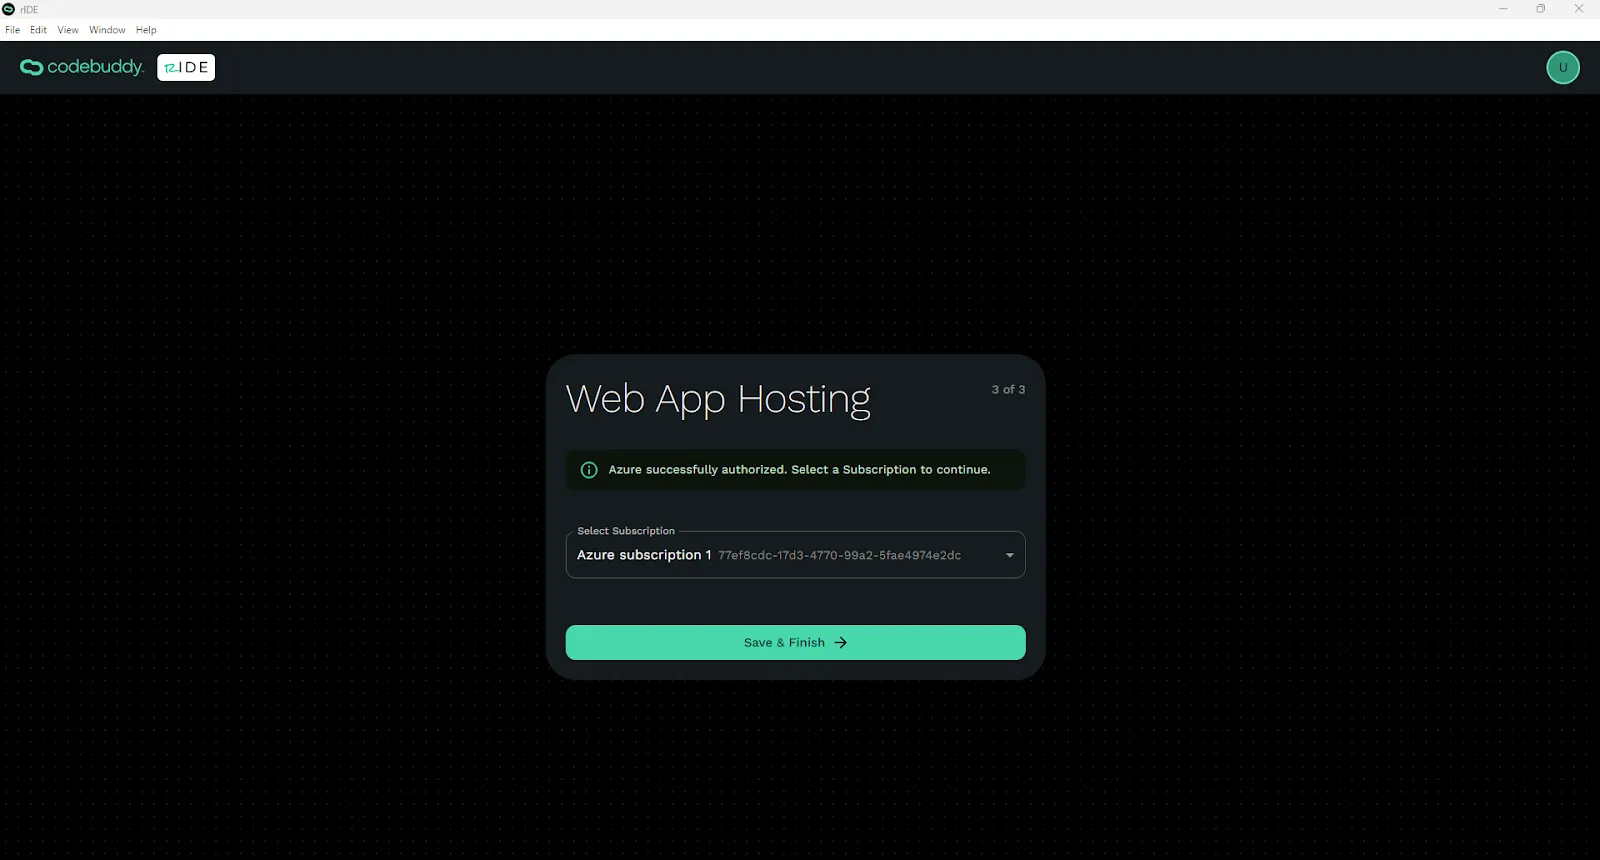
Click Save and Finish. Now you have your Workspace setup.
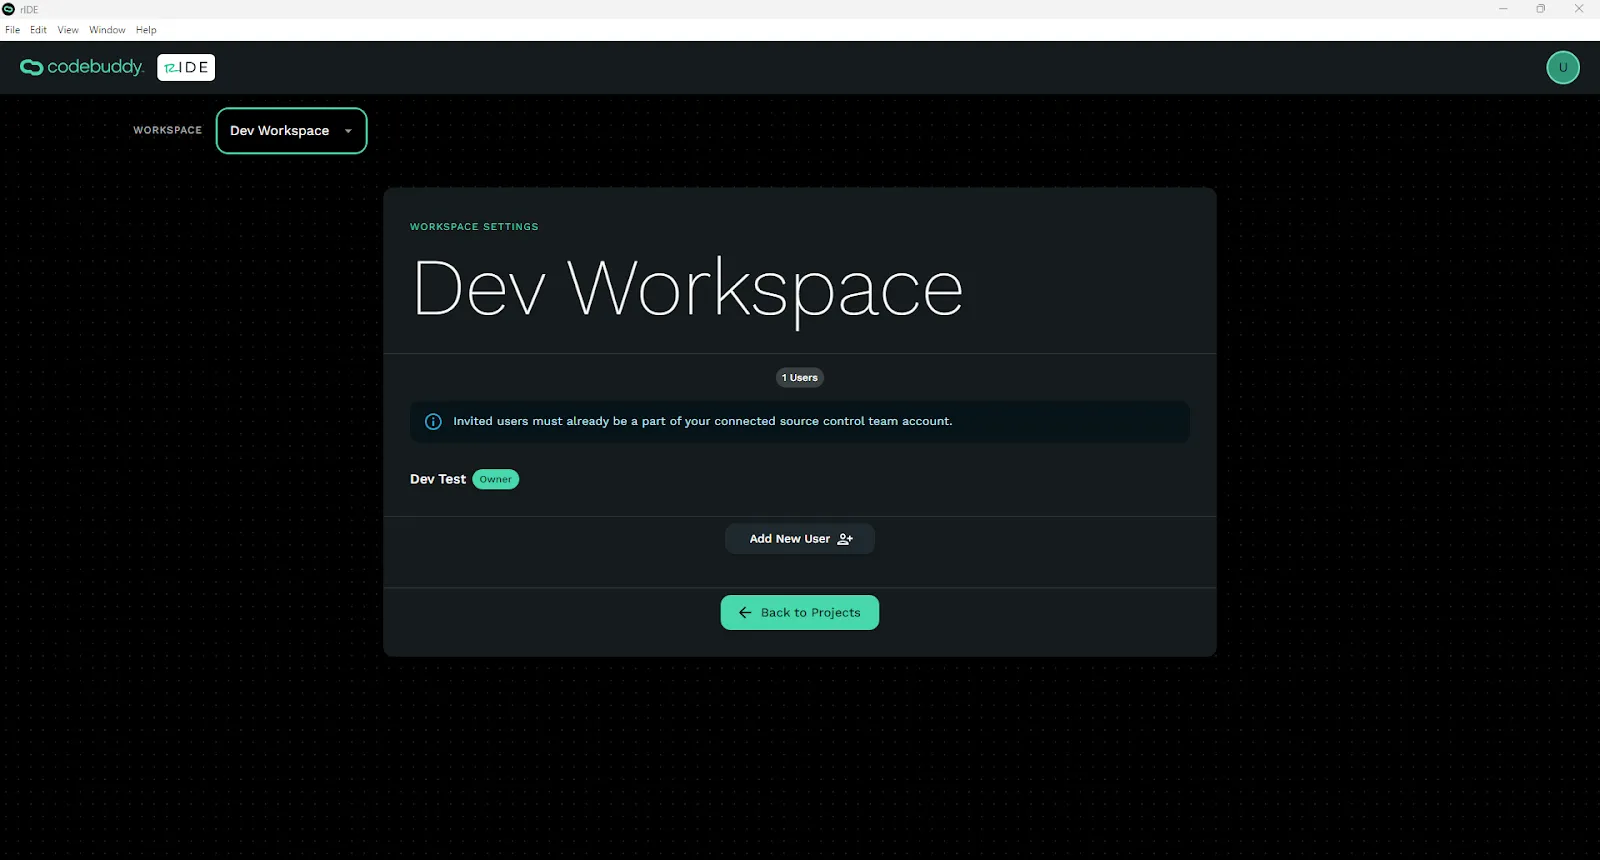
Inviting Users to a Workspace
Section titled “Inviting Users to a Workspace”Click the Workspace drop down in the top left. Click Workspace Settings. Click Add New User. Assign them a role.
NOTE: For a new user to run a project that you created, you will need to export and they will need to import your settings JSON file for that project. This is shown later after creating a new project.
Creating another Workspace
Section titled “Creating another Workspace”Click on the New Workspace button in the top left to create a new workspace. Follow the same steps as listed above.