
Getting Started
Create a Workspace
Section titled “Create a Workspace”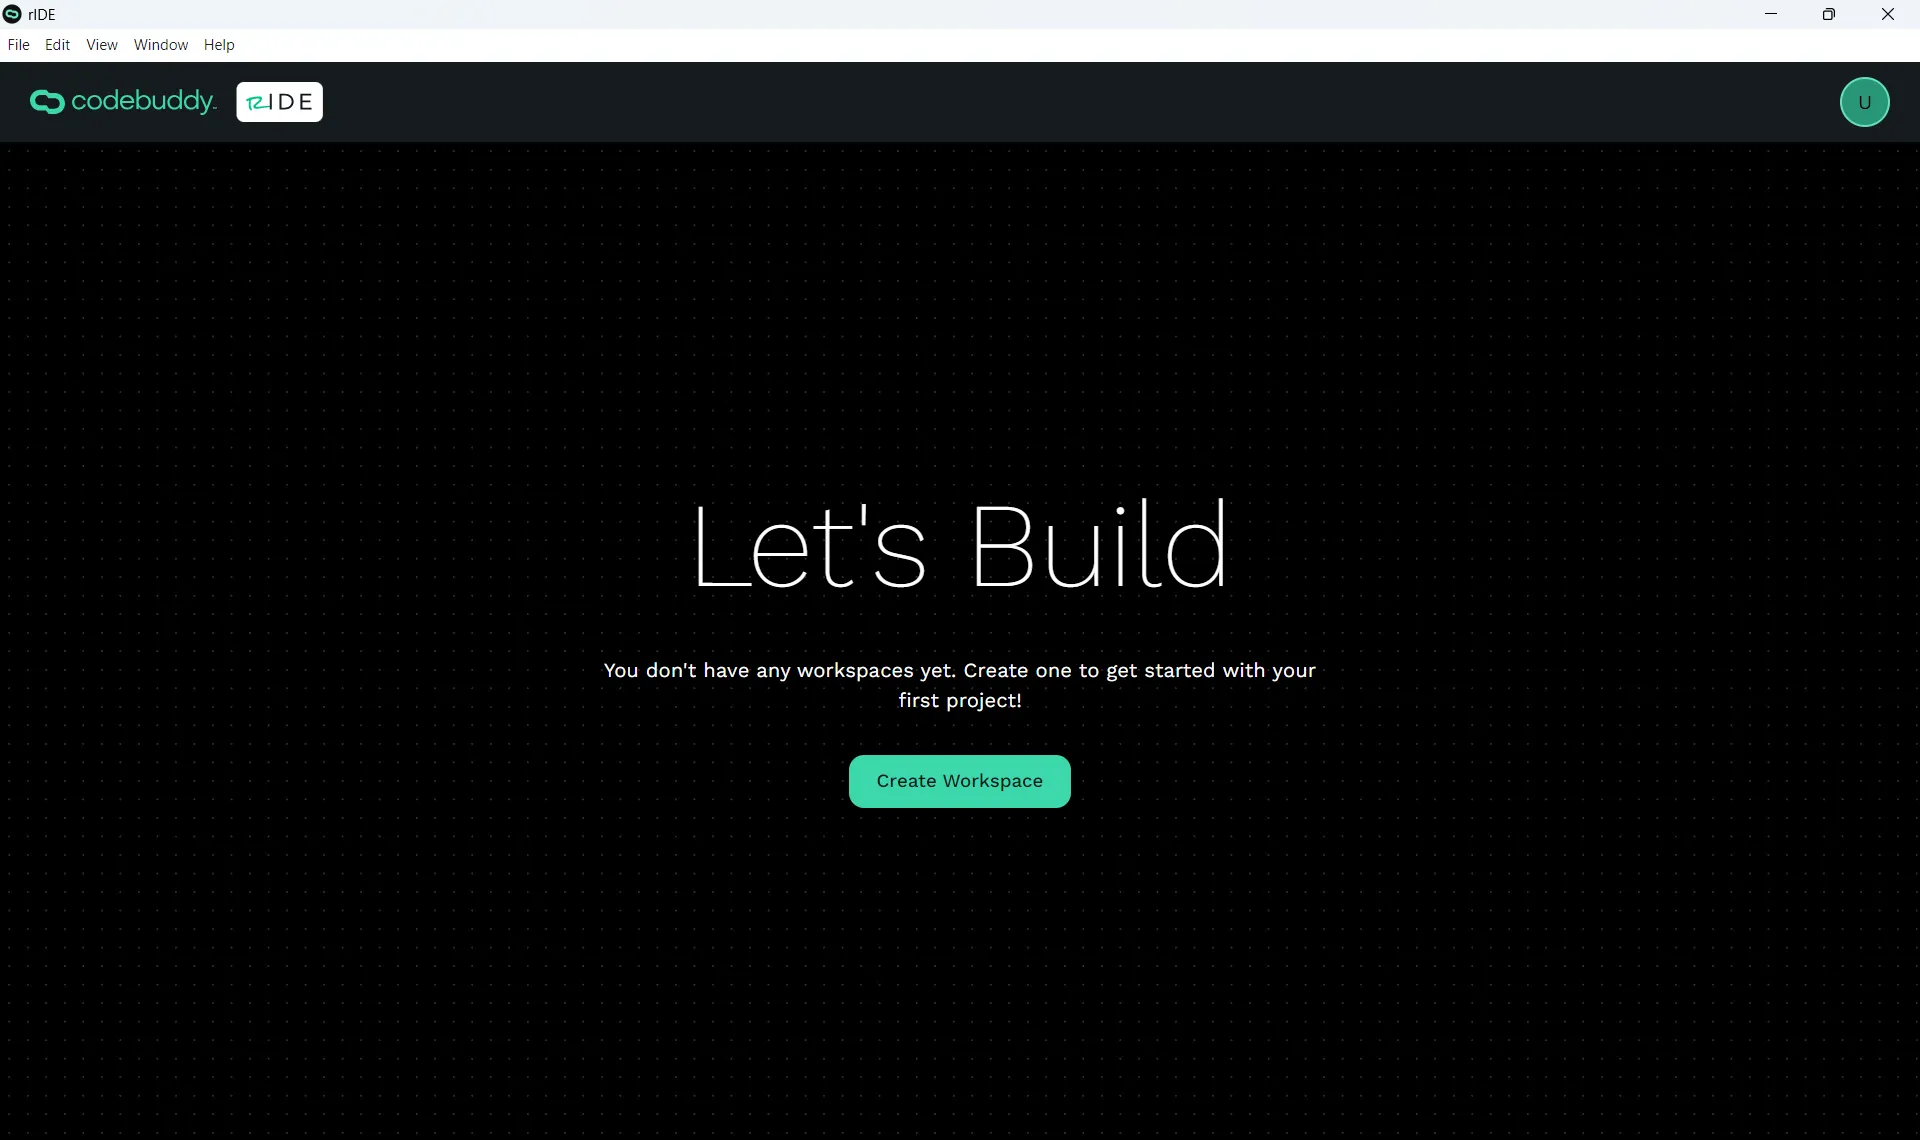
Click on the Create Your First Project button to start building.
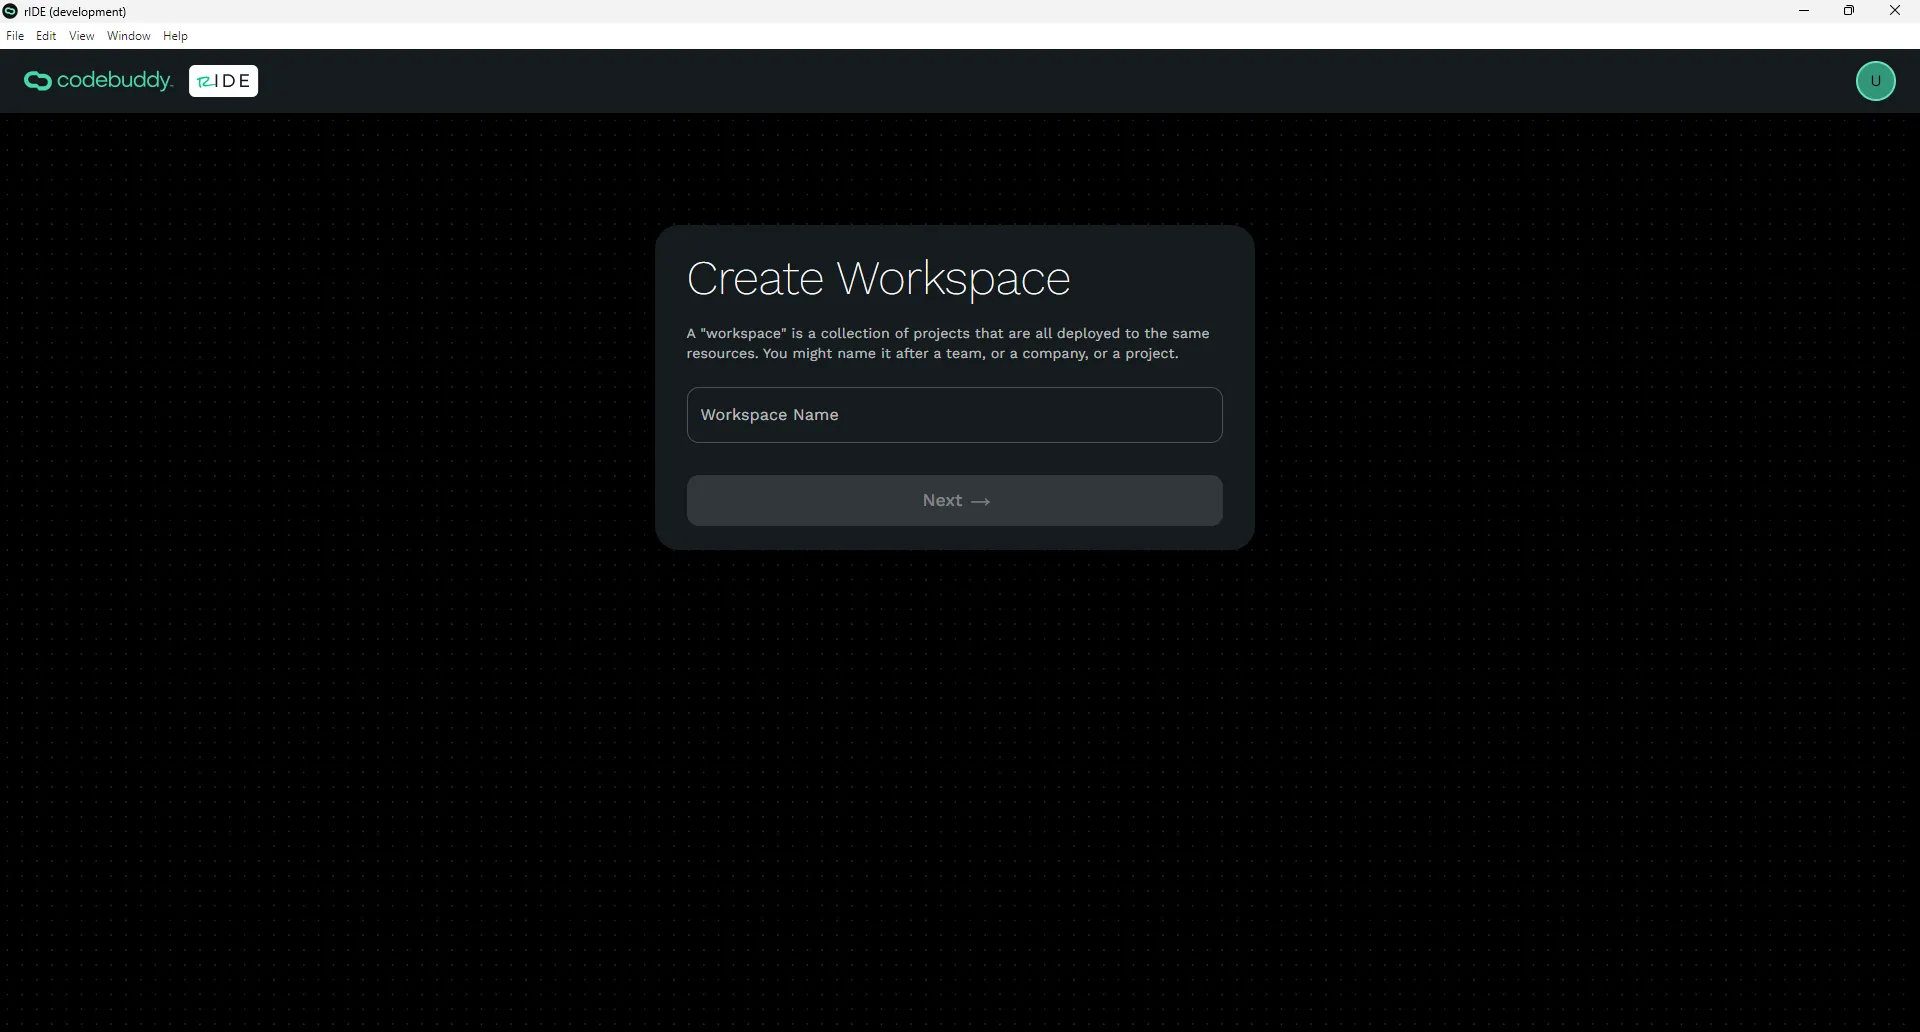
Workspaces are where you and your team can organize projects and cloud tools all in one place. You’ll only have to set up the information for a Workspace once and you can create as many Workspaces as you desire.
Create Another Workspace
Section titled “Create Another Workspace”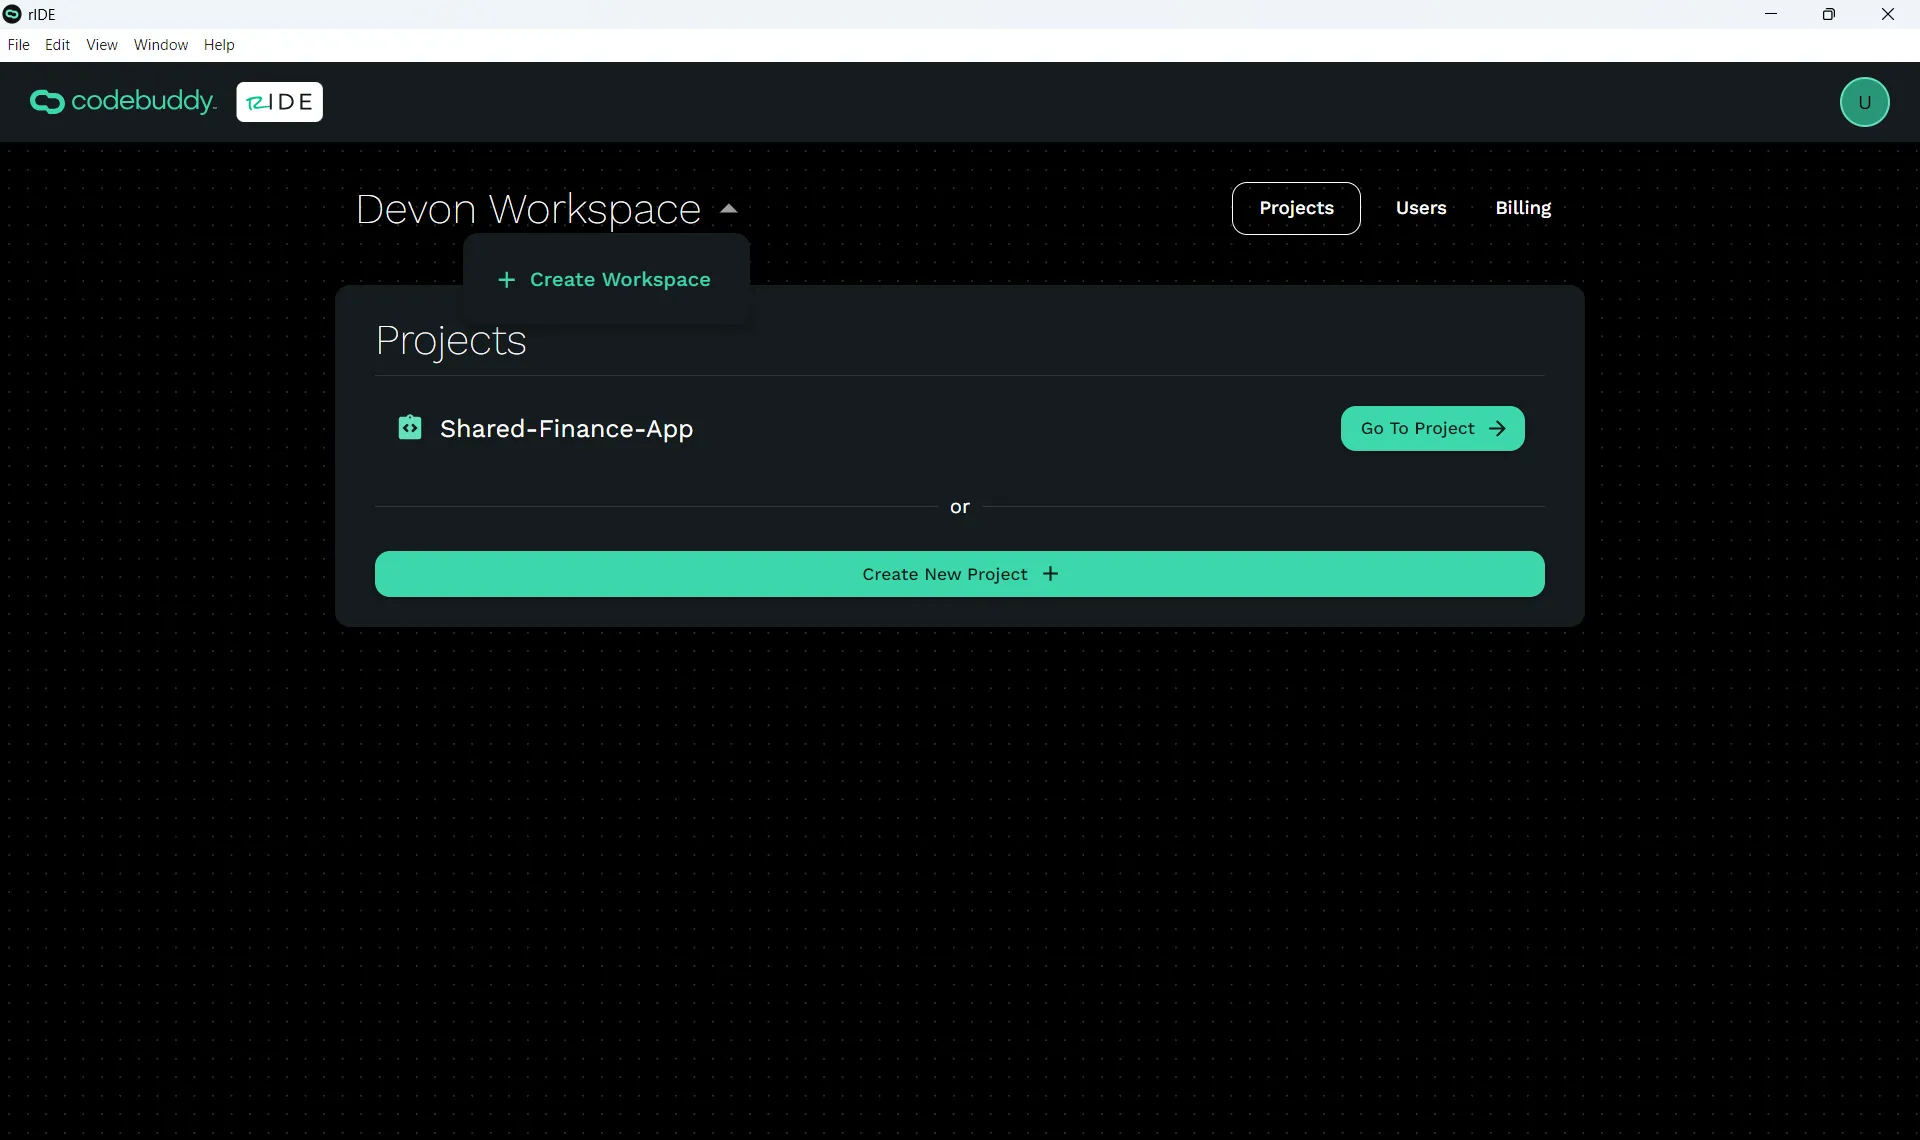
If you navigate back to your Workspace, you’ll see that your project is listed in the Projects tab. You can create a new Workspace by clicking on the dropdown beside your Workspace name and clicking “+ Create Workspace”. Or click on the Workspace name to drop down and select or create other workspaces if you have more than one.
Create a Project
Section titled “Create a Project”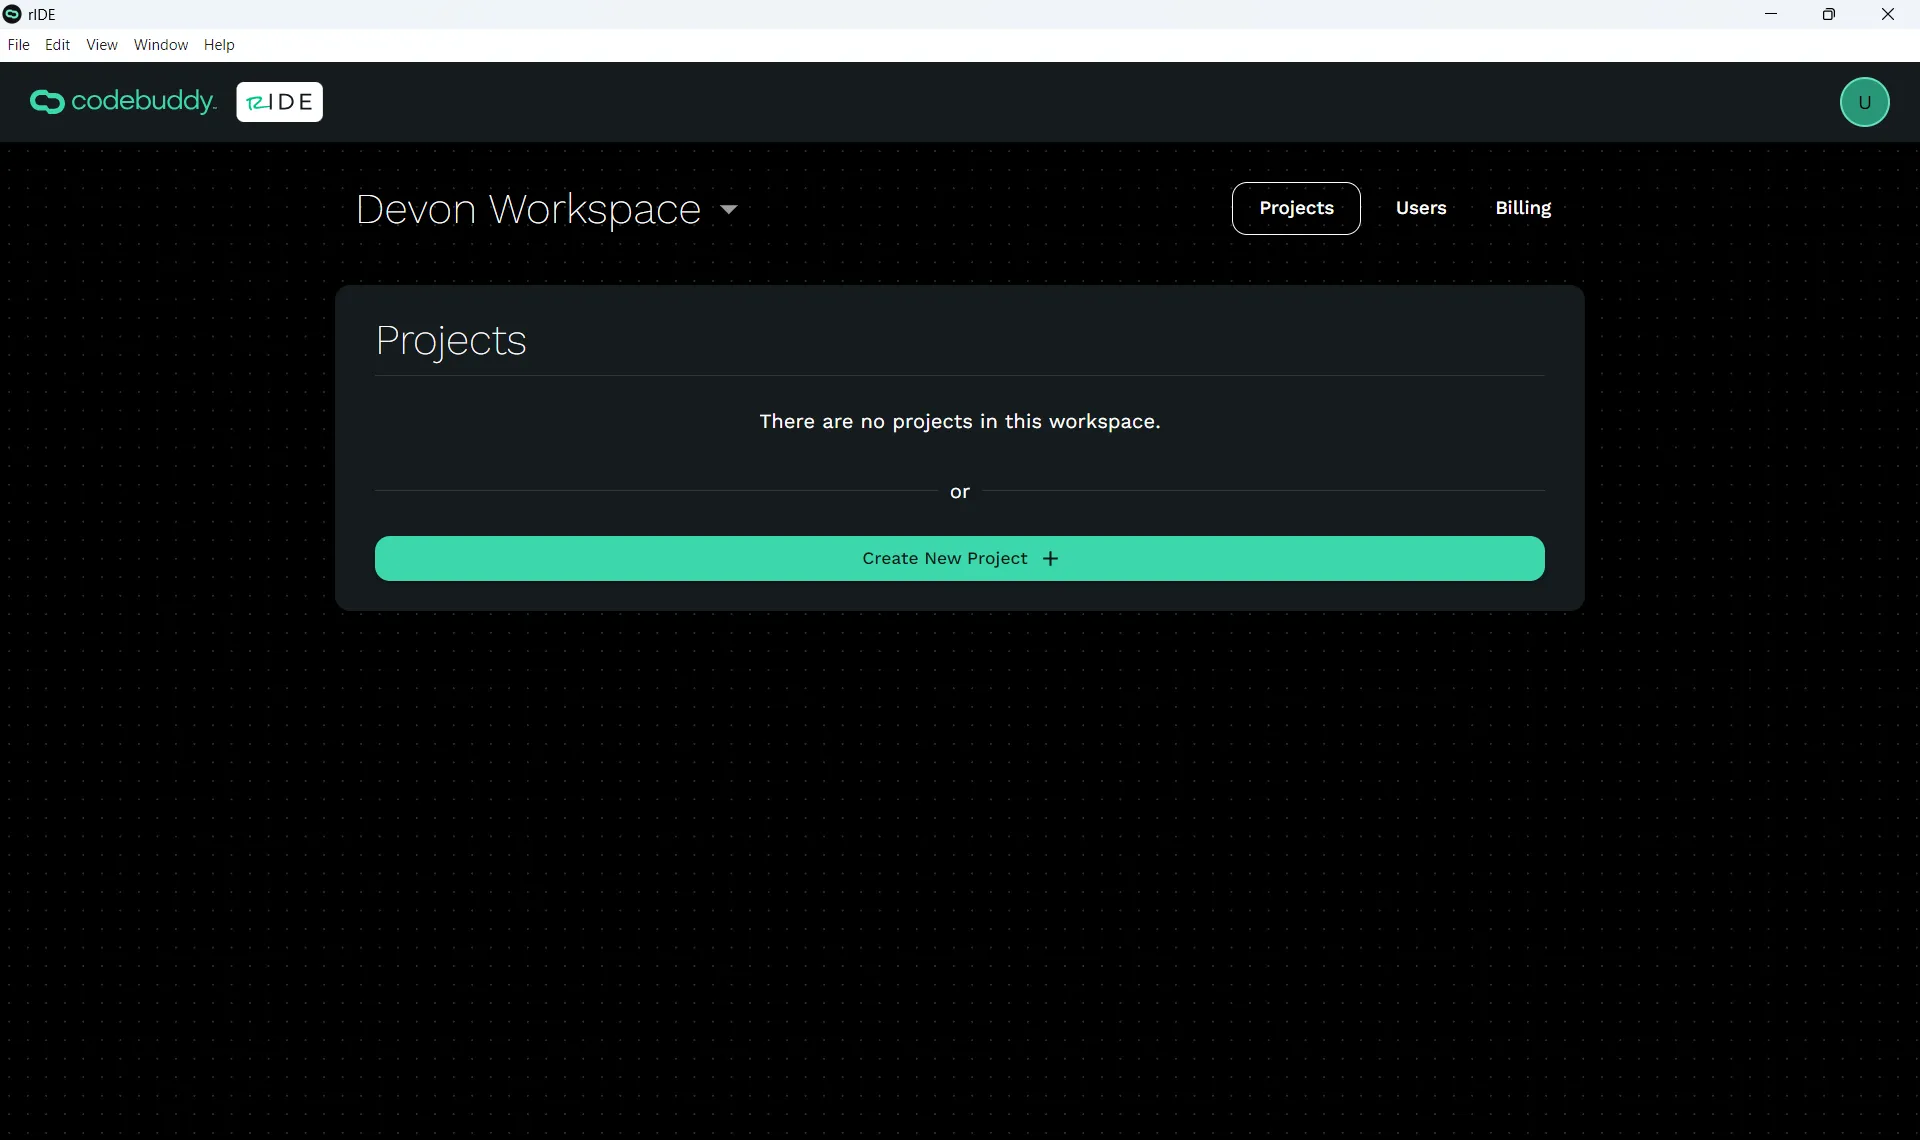
Click on Create New Project.
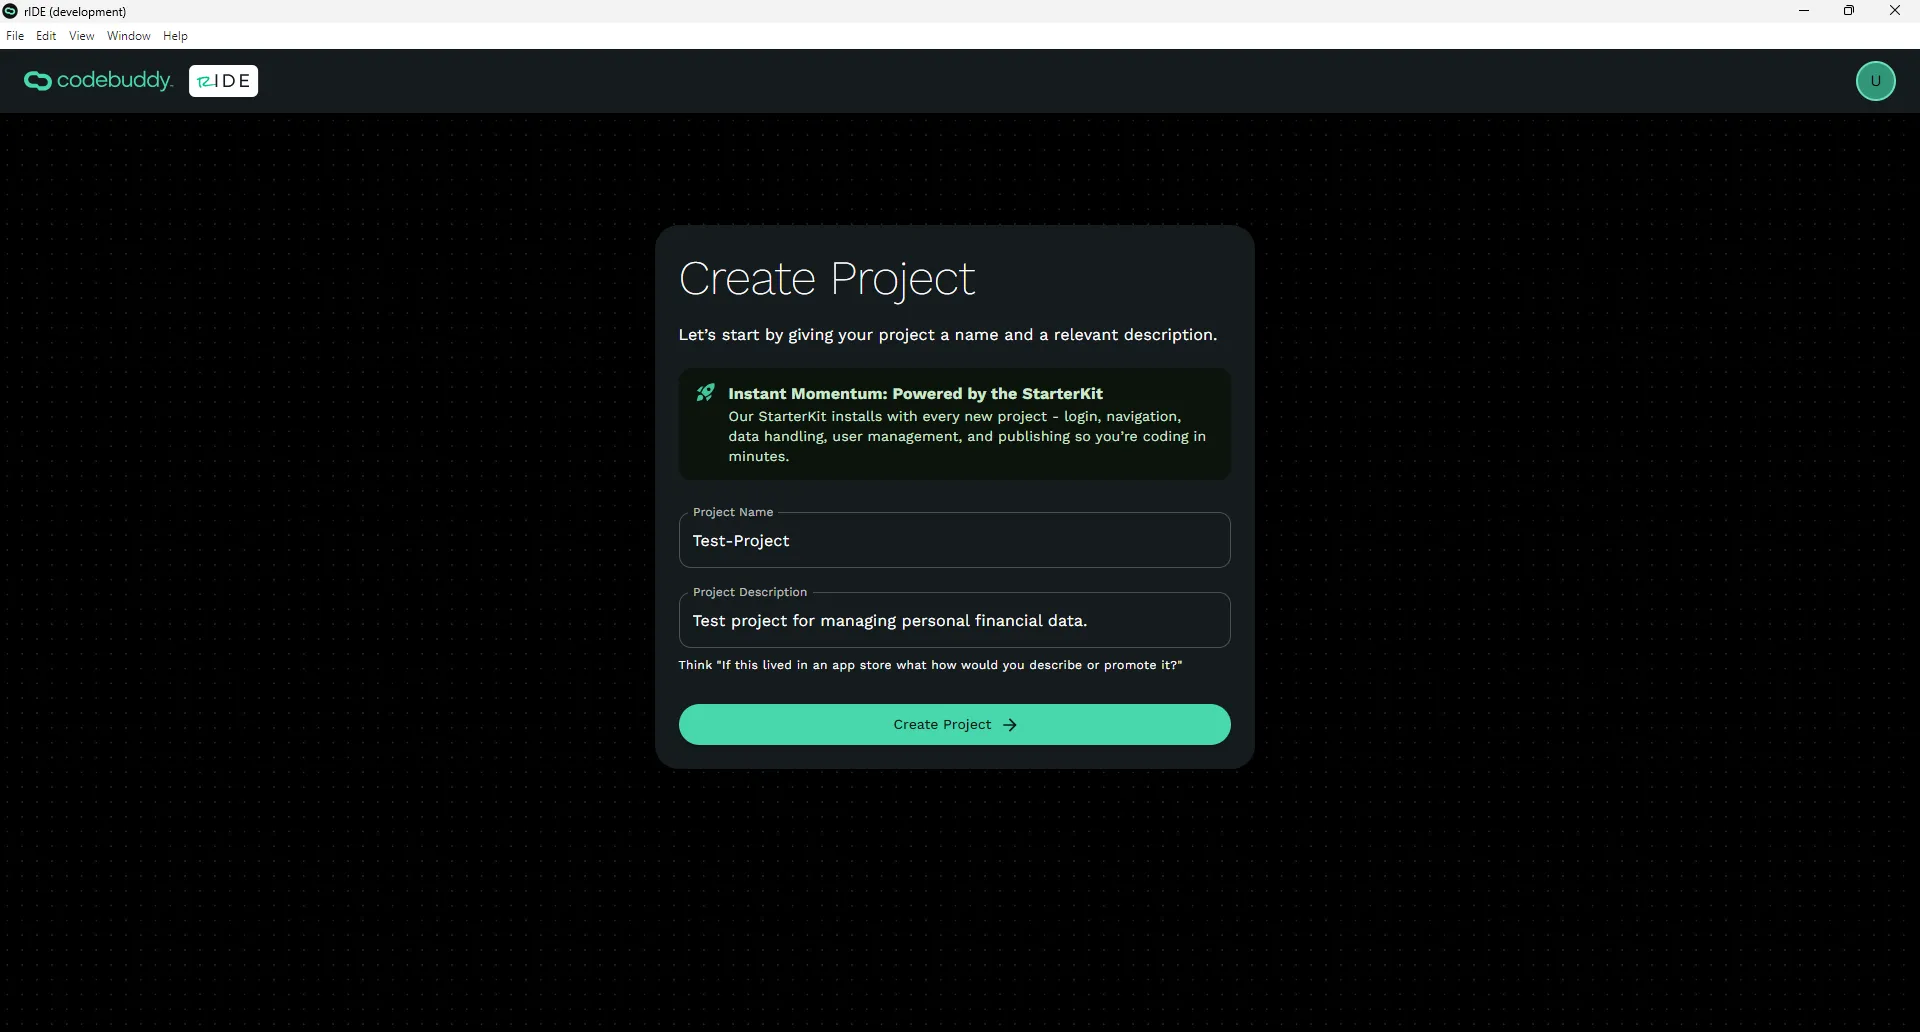
Add a Project Name. This name will be used to create any resources so that your resource names match your project. For this reason we ask you to not use any spaces in the name. You can use dashes.
Then add a Project Description. This project description will be used by the AI to help build your app. Make sure the description matches what you try to build. You don’t have to include more than one sentence. There will be plenty of opportunities to provide additional details about your app later.
Navigating Your Project
Section titled “Navigating Your Project”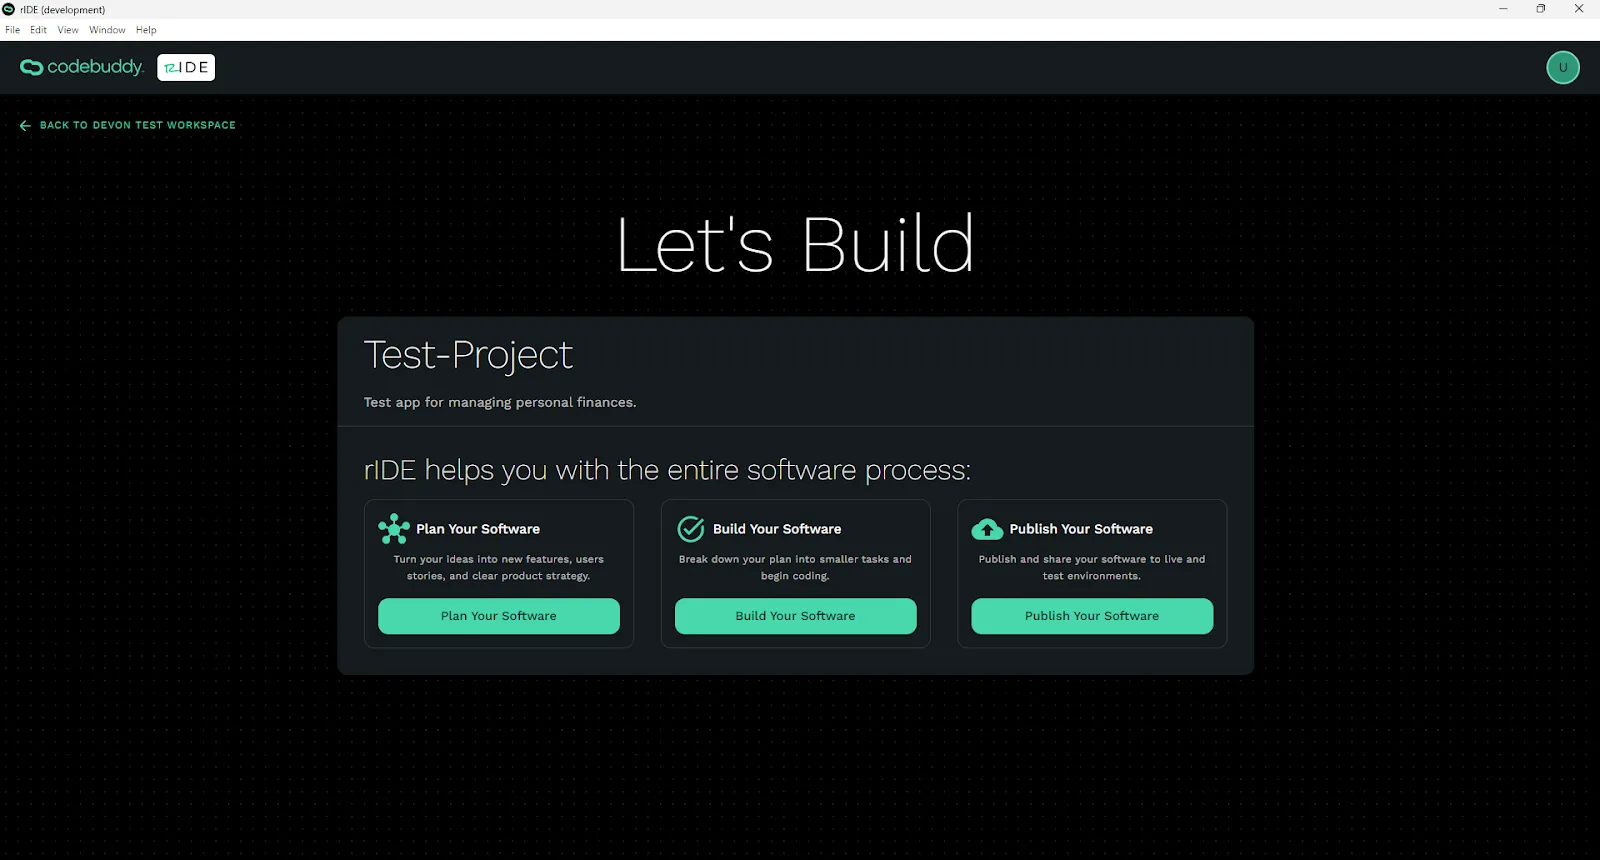
The project page has three main actions:
- Plan Your Project - Our AI driven software planning tool for taking an idea and breaking it into the user stories, workflows, user types, and definitions needed to communicate your vision.
- Build Your Software - Our AI driven task and project management planning tool that takes a non-technical workflow or user story and breaks it down into technical tasks for development. This section also includes our AI Code Editor for implementing those tasks.
- Publish Your Software - Our automated cloud deployment tool that helps you run, build, preview, and host your code on local, test, and production environments/URLs.